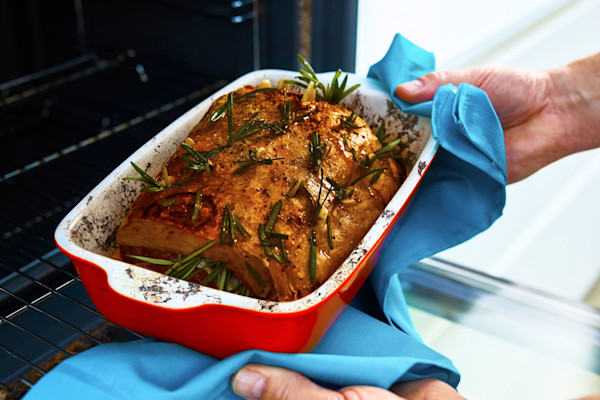
Ovens can easily accumulate grime from oil and food residue left behind by the cooking process. Food that falls from your oven tray can often char and lead to unpleasant burning odours. Cleaning an oven regularly is one of the easiest (and most important) ways to make sure that it remains safe to use. These oven cleaning tips explain how to clean oven walls and racks, leaving your appliance fresh and ready to heat up tonight’s dinner!
When it comes to cleaning an oven, you can benefit from using a thick, rather than liquid, commercial cleaner such as Handy Andy. The consistency means these products can be relied upon to work on the top and sides of the oven without running off – saving you time and effort.
How to Clean the Oven by Type
Methods of oven cleaning depend on the type of oven that you have in your home. Most ovens fit into three broad categories:
- ✦
Self-cleaning ovens. These are usually modern and high-tech. They have a setting that turns leftover food to ash.
- ✦
Non self-cleaning ovens. These are the most common type of oven, and they usually require you to roll up your sleeves and scrub away food and grime.
- ✦
Continuous cleaning ovens. These ovens have a special internal lining that prevents the buildup of grime.
Once you’ve determined what type of oven you have, you can set about getting it clean.
How to Clean an Oven with a Self-Clean Setting
Many modern ovens have a self-clean setting. A self-cleaning oven heats the oven to an extremely high temperature – over 480 degrees Celsius (up to 900 degrees Fahrenheit). This cleans the oven by turning glued-on food residue into ash. While self-cleaning ovens do most of the work for you, there are certain steps that you should follow to ensure it is safe.
- 1
First open the windows in your kitchen, and set the oven to self-clean at a time when others are unlikely to use the kitchen.
- 2
Read and follow the instructions on your chosen oven cleaning product carefully to ensure you use it safely and effectively.
- 3
Next, remove any pots or oven racks from the oven. Wash these by hand in the sink with a little dishwashing liquid.
- 4
Turn on the self-cleaning mode, which will usually take several hours. Your oven should be locked during self-clean. If your oven does not lock automatically, be sure to leave a note or tell everyone in the house that the oven is on self-clean.
- 5
Allow the oven to cool for several hours after the self-cleaning is complete.
- 6
Once the self-clean is complete and the oven has cooled, brush all of the ash into a garbage bag and clean the oven door and lining of any lingering ash.
Oven Cleaning Without the Self-Clean Setting
There are several steps to cleaning a non self-clean oven. Once again, read and follow the instructions on your chosen oven cleaning product carefully.
- ✦
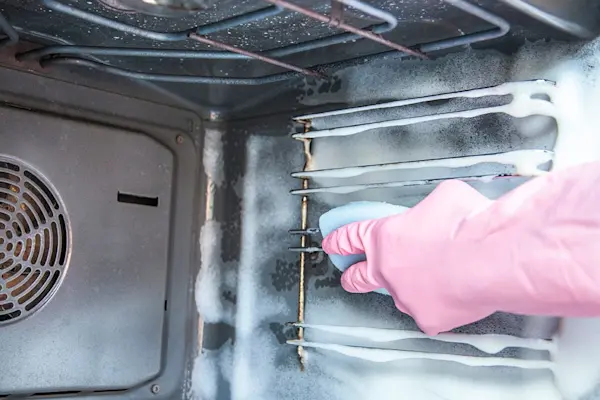
First remove the oven racks and soak them in the sink.
- ✦
Then apply your chosen oven cleaning product. Cover the interior of the oven thoroughly, avoiding the fan – if there is one – and the heating elements.
- ✦
Allow the solution to work on your oven for 15 minutes or more, as this should loosen any charred bits of food.
- ✦
Scrub and scrape the inside of your oven to remove grime.
- ✦
Rinse and reapply your oven cleaner if necessary.
- ✦
Remember to rinse your sponge regularly so that you do not simply spread around grimy residue.
- ✦
Once you are finished, take a clean rag, dip it in water and go over the inside of your oven once more to remove any leftover soot.
Continuous-Cleaning Ovens
Continuous cleaning ovens are different from both regular ovens and self-cleaning ovens due to their specially lined interiors. Continuous cleaning ovens have a porcelain interior that burns off any food, grime, and residue. While this leaves your oven clean most of the time, food can still become attached to the oven walls, especially if a dish has popped and sizzled during the cooking process.
To clean these continuous-cleaning ovens, use a mixture of warm water and baking soda to gently clean the interior. Never use abrasive chemicals on these ovens as they may damage the porcelain lining.
