Maybe it’s your first time away from home or maybe it’s just been a while since you last had to do it, but at some point in life everyone needs to know how to use an iron. If that’s you, this guide is here to help. Read on to learn how to iron a shirt, how to iron pants, and how to prepare your clothes for ironing.
Much like hair conditioner makes it easier to brush your hair, adding a good fabric softener like Comfort to your wash will make it easier to iron clothes.
Step 1: Wash your clothes
Before you start learning how to iron clothes, you need to know how to wash them. Heat can seal in stains and odours so ironing dirty clothes will only make things harder.
First, check the clothing label for guidance on how to wash your clothes and how to iron them – if you’re not sure what all the symbols mean then our guide can help.
Next, turn your attention to your washing machine. You want to set it to the right temperature and spin cycle for the fabrics you’re washing and use a trusted detergent like Skip or Surf. For more tips, read our article on ‘how to use a washing machine’.
Step 2: Let them dry
A little moisture can help the iron glide more easily on clothes – especially if it doesn’t have a steam button – but ironing your clothes while they’re wet might damage the fabric or cause creases to be more pronounced. Make sure they’re dry before you start.
Safety first!
Don’t forget to turn off your iron as soon as you’ve finished, and let it cool down before you put it away.
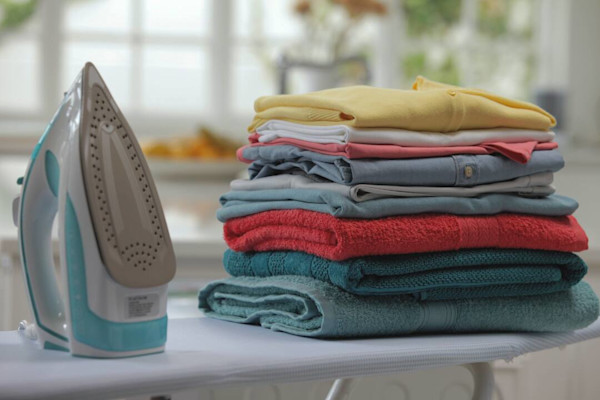
Step 3: Gather your tools
To start learning how to iron, you’ll need:
- ✦
An iron
- ✦
Some water
- ✦
An ironing board
Then you need to master how to use an iron. Once your iron is filled with water and plugged in, set the temperature dial on the iron to the correct setting and wait for it to heat up. If you’re not sure what temperature to use, start low and gradually increase. Finer materials like silk can be extra sensitive to heat so you may want to iron them through a clean cloth.
Step 4: Learn how to iron a shirt, pants and other essentials
The basics of ironing are the same for most clothes, but for more formal items like shirts and pants you may want to follow these instructions to make it easier:
How to iron a shirt
- 1
Start with the collar. Pop it up and iron the underside first, so the worst of any wrinkling will be hidden. Then flip it over and iron the outside.
- 2
Next, do the cuffs. Use the narrow point of the iron to smooth around the buttons (never on top – they’ll melt). Again, start with the inside, then do the outside.
- 3
Iron the shirt front, starting on the side with the buttons. Go over the reverse if there’s a placket that needs to be smoothed down.
- 4
Iron the back. You might find it easiest to place the sleeves square with the board.
- 5
Iron the sleeves. This part is tricky: you’ll need to lay them flat, so the seam is at the edge, and make sure they’re as smooth as possible before you start. Start at the shoulder, and make sure you iron both sides.
How to iron pants
- 1
If your pants have pockets, turn them inside out and iron those first.
- 2
Next, tackle the fly, seams and hems. This will help you keep the rest of the fabric flat.
- 3
Slide the waistband over the narrow end of your board, fly down, and iron the waistband, turning it as you go. Go lightly over the pockets to avoid an outline.
- 4
Fold your pants lengthways and iron the legs, starting at the hem and working up to the waistband. Flip them over and do all sides.
- 5
If your pants have a crease, line the seams up with each other and press over them lightly. There’s no need to press the crease itself – better to keep it subtle.
Now you know how to iron clothes! Check them over before you put them back in your wardrobe.
- ✦
Read the clothing label carefully
- ✦
Start at a low temperature
- ✦
Work quickly – don’t let the iron sit on the fabric
