Here’s how to use household recyclables like toilet rolls to help your kids create their very own homemade marble run ideas at home. It’s exciting, entertaining, and everyone in the home can get involved too.
What Is a Marble Run?
A marble run is any kind of structure that a marble can run down and can be created in a variety of shapes and sizes. A marble run will always have an opening, into which a marble can be dropped, and an ending, where the marble ends and falls out.
Children love constructing and creating marble runs because it allows them to use their imagination. This activity is also important in honing their construction skills and problem-solving skills all while helping them learn about motion and gravity in fun ways.
Keen to know how to make a DIY toilet roll marble run? Read on to find out more.
How to Make a Marble Run With Kids?
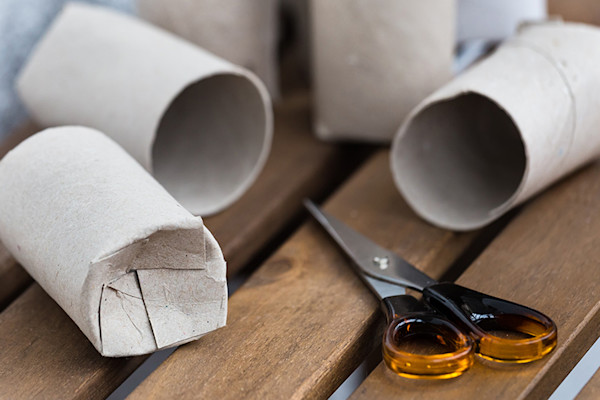
We’ve got great cardboard marble run ideas, that can be easily made with old toilet rolls. Before you start though, make sure you’ve collected quite a few toilet rolls that your kids can use. We’d recommend having at least 10 – 15 toilet rolls on hand (depending on how many kids you have participating).
What you’ll need for this craft:
- ✦
10 – 15 toilet rolls
- ✦
Base – either carboard, a chopping board or a tea tray
- ✦
Sticky tape or masking tape
- ✦
Paint
- ✦
Glue
- ✦
Decorations
A step-by-step DIY toilet roll marble run guide;
Step 1 – Paint the Rolls
Using a range of colours, allow the kids to paint each toilet roll a different colour. This step is best done outside using washable paint. Allow them to get as creative as they want, mixing and matching all the colours of the rainbow.
Step 2 – Create the Marble Run
With your help, encourage the kids to start creating the towers of the marble run but sticking two or three toilet rolls together at a time using the tape. Make some runs longer and some shorter. Then stack the towers or chutes and mark where you need to cut into them to enable them to fit together. This step might be for mum – cut holes in the towers to allow them to fit into each other. Make sure the holes are high enough to allow the largest marble you have, to fit through.
Step 3 – Decorate
Once your marble run in taped and glued into place, it’s time to decorate. Using whatever you have around the house like feathers, glitter, stickers etc, allow the kids to get creative with decorating the marble run before they begin.
Step 4 – Ready, Set, Go
Now that the DIY marble run cardboard craft is ready, it’s time to test it out. Allow the kids to drop in one marble at a time and watch it run down the towers. They will love seeing their marble run through the beautiful, colourful towers they’ve created. At OMO we believe that Messy Play is important for children. Every stain represents an experience. Encourage your kids to get messy and have fun and help them become happy, healthy, confident kids.
