As with most electrical products and appliances, layers of dirt, dust and bacteria can grow on the unit and prevent the air conditioner from functioning at its best. Plus, when an air conditioner is dirty, it can actually start to blow these unwanted particles throughout your home. Dirty air conditioners have been found to be responsible for respiratory problems and other health issues in children and pets.
Read our easy-to-follow air conditioning cleaning guide, which will show you how to clean your air conditioner safely and effectively. We’ll also give you tips on how to prevent mould and other debris from building up in the future.
How To Clean An Air Conditioner Unit – A Step-by-step Guide
Every make and model of air conditioner is, of course, different. We recommend reading the user manual of your specific model to find out if there are any particular steps you need to follow when cleaning your unit. In general, though, these are the key steps that should be followed:
Step 1 – Unplug It
When working or cleaning any kind of electrical equipment, you should always first make sure that it is completely unplugged from any kind of electrical socket. Water and electricity don’t mix well, so to avoid any nasty accidents, always unplug your unit as the first step.
Step 2 – Change The Filter
If your unit has a filter, it should be changed regularly to ensure that it is filtering the air that it is blowing back into your home properly. Find the filter on your machine and remove it safely. Discard or recycle it if you can. Fit a new filter back into place.
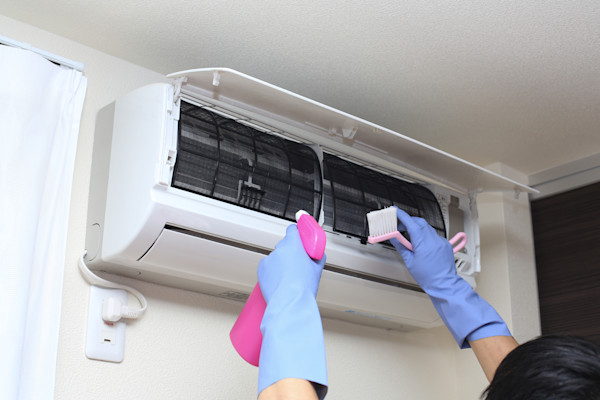
Step 3 – Remove Any Visible Dirt
Remove the back of the air conditioner and vacuum up any visible dirt, dust and debris that you can see inside the unit.
Step 4 – Remove Any Mould or Bacteria From Pipes
Most air conditioners have an airflow pipe that is able to remove condensation or moisture from the air. The problem is though that this moisture often then sits in the pipe or pipes and can lead to a build-up of mould or algae growth. If you are able to, remove the pipes and wash them thoroughly, by hand, with warm water and include a bleach solution such as Milton in the mix. Allow the pipe to soak for an hour or so, and then leave it in the drying wrack to completely dry overnight.
Step 5 – Clean and Dust the Unit
First dust the entire unit inside and outside to remove dust. Then give the entire unit a good clean with a warm cloth and multi-purpose cleaner like Handy Andy. Make sure you get into all the grooves and grilles that the conditioner might have.
Want to know about the powerful effects of Handy Andy’s home cleaning range? Read our blog on The Quick Way To Keep Your House Clean with Handy Andy now.
Step 6 – Plug In and Switch On
Once the pipes have dried and you’ve thoroughly dusted the unit, plug it back into the electrical socket and switch it back on. It should work like a charm!
Your Essential Air Conditioner Cleaning Checklist
Make sure you have everything you need to tackle your DIY air conditioner cleaning job before you start. If you don’t have the right tools, you may have to stop in the middle of the job, and you might lose your momentum and never finish it. Here are the five essential things you need to get your air conditioner cleaning job done right now:
- ✦
A step ladder – if you have a built-in or mounted air conditioner, a step ladder is essential to be able to reach it.
- ✦
A feather duster.
- ✦
A handheld vacuum.
- ✦
A soft, microfibre cloth.
- ✦
A bucket of warm water with a tablespoon of Handy Andy Cream Cleaner.
For more cleaning tips and tricks for the home, visit Cleanipedia today.
